Time needed: 15 minutes
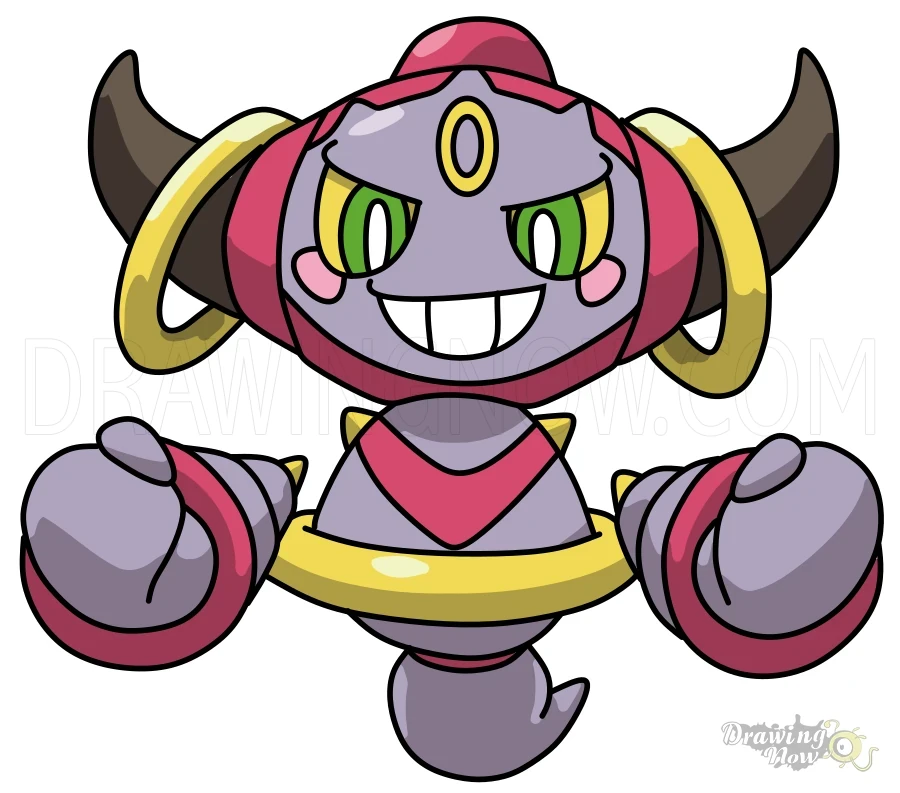
Learn how to draw Pokemon – Hoopa with this easy step by step drawing tutorial, just follow the pictures below and you’ll be able to draw Hoopa in no time.
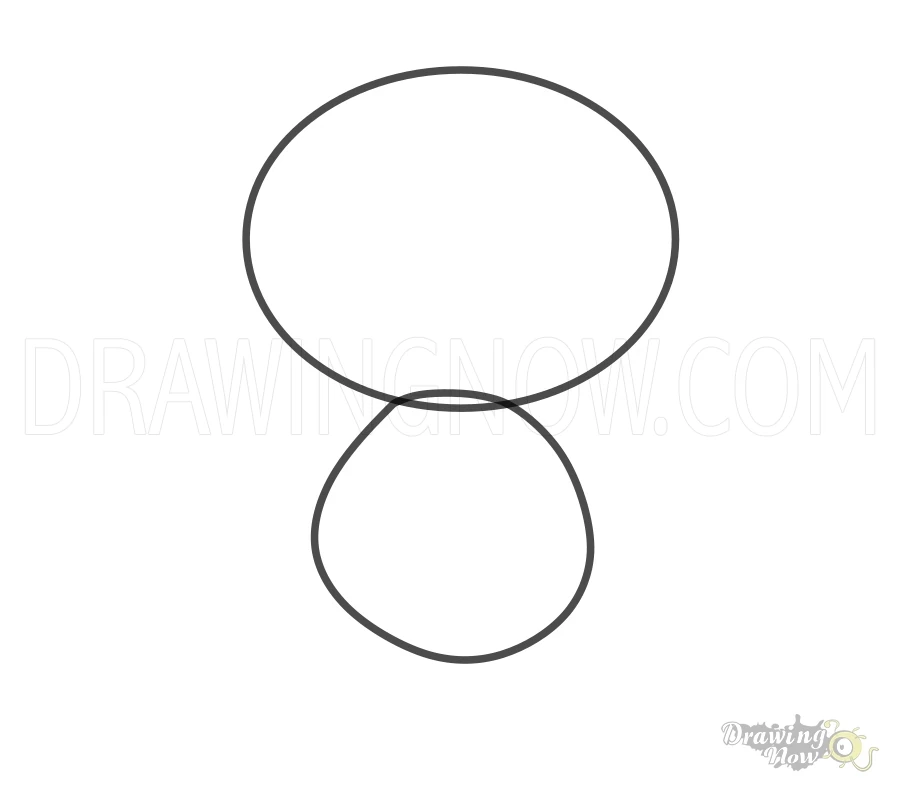
- Head and body
Draw an oval shape for the head and another smaller oval below for Hoopa’s body. Notice that the two ovals are overlapping a bit.
- Horns
Sketch two big horns at the sides of the head.

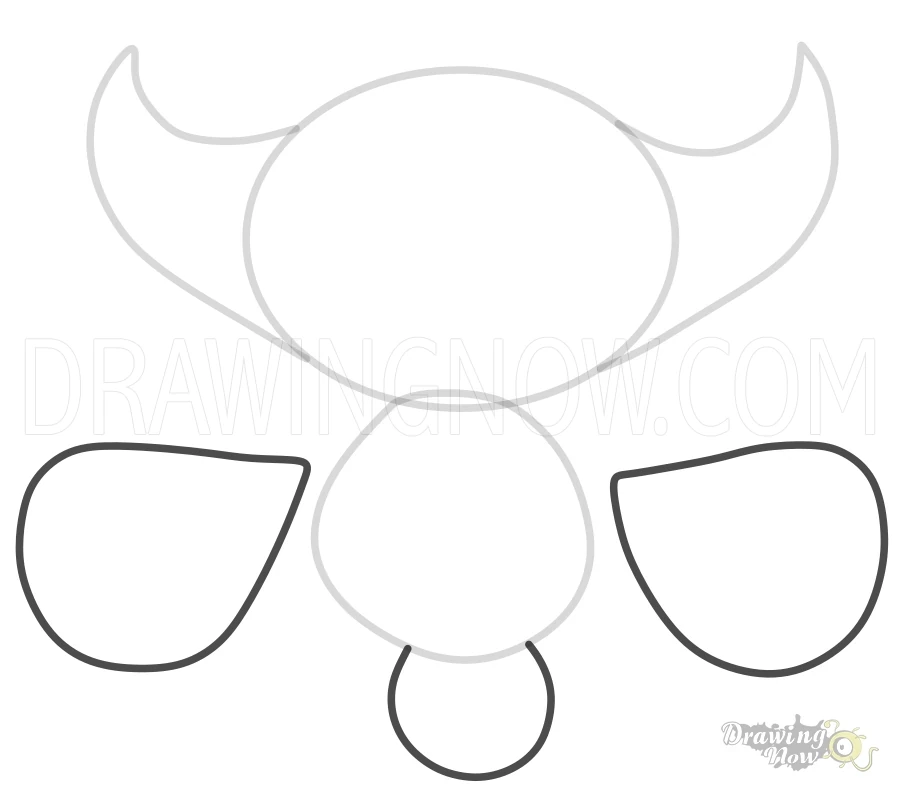
- Arms and Tail
Draw two big cone like shapes for the arms and another “U” shape below the body for the tail.
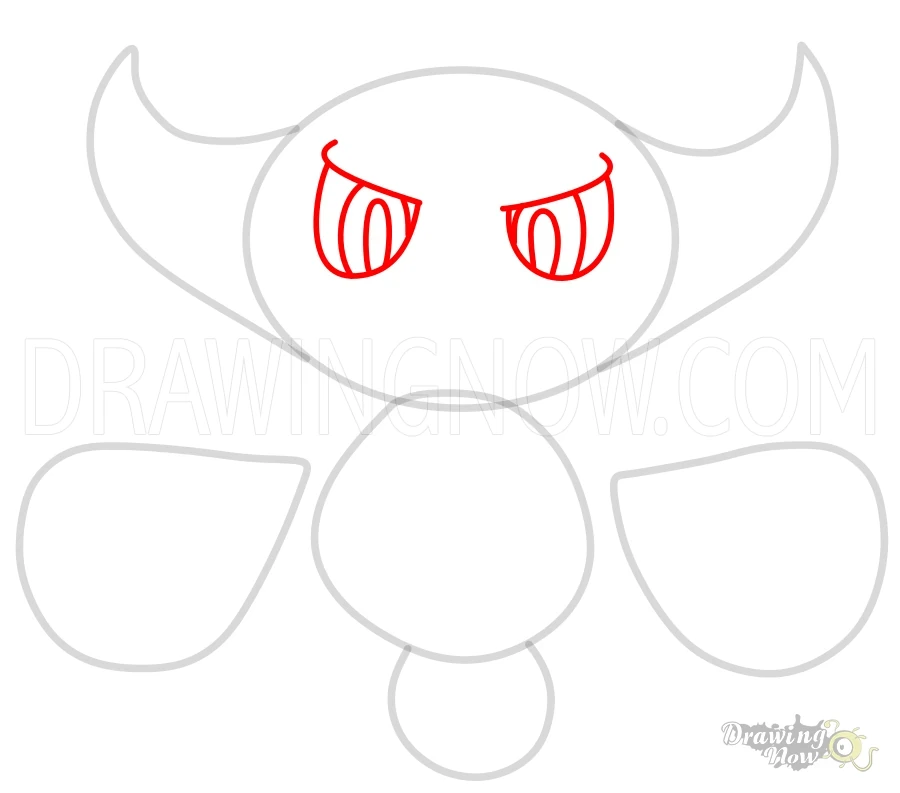
- Eyes
Let’s start drawing Hoopa with the eyes, draw the outer part first and add an oval shape inside.
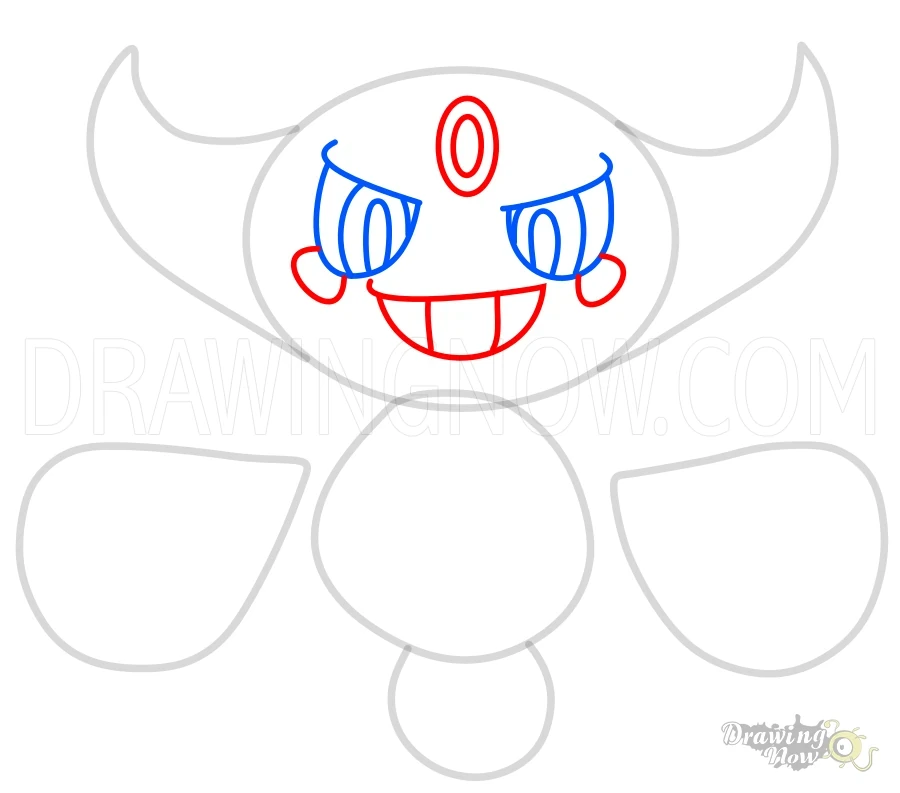
- Mouth and Cheeks
Draw a mouth in the middle of the face, two “U” shapes under the eyes and two oval shapes above the eyes.
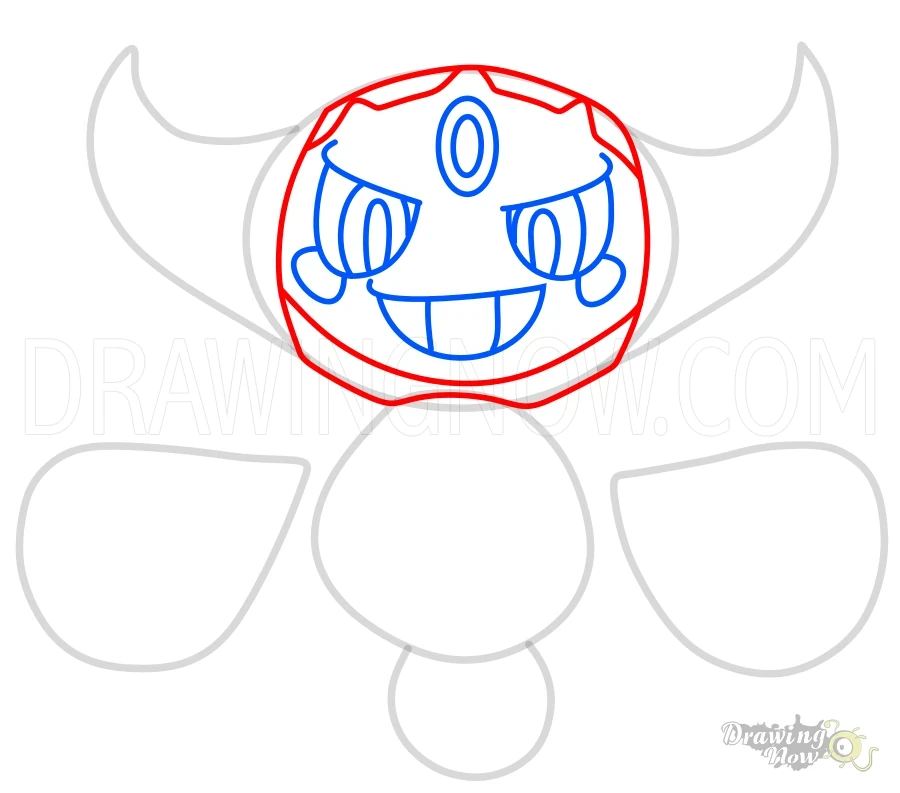
- Face
Draw the outline of the face and then add the inner outlines.
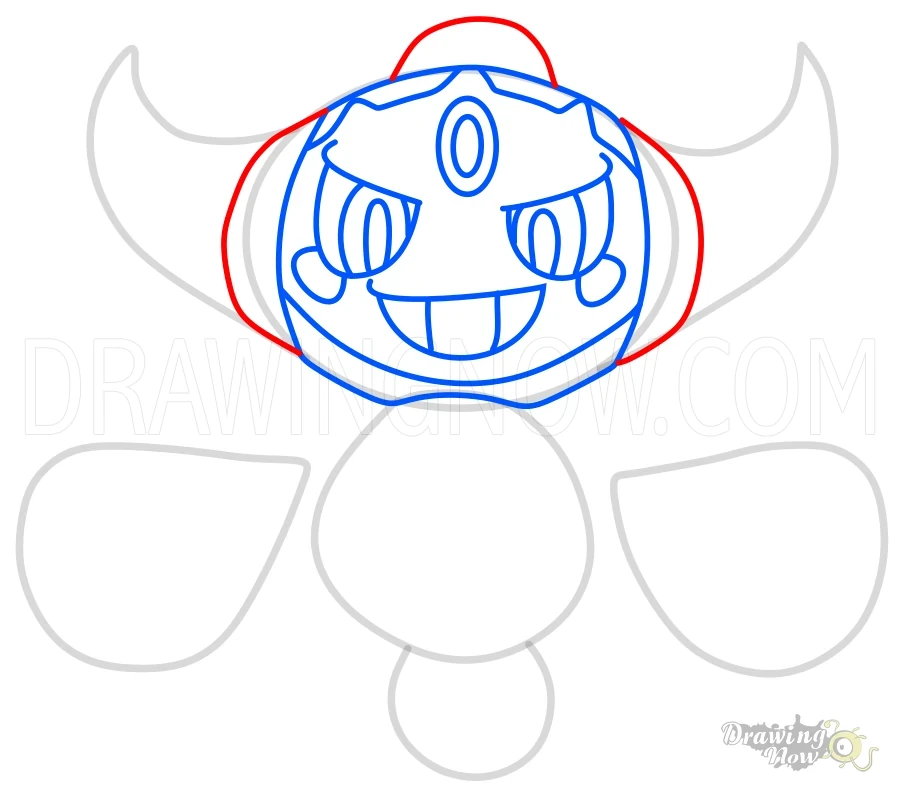
- Face continued
Draw curved lines on the sides of Hoopa’s face and one above.
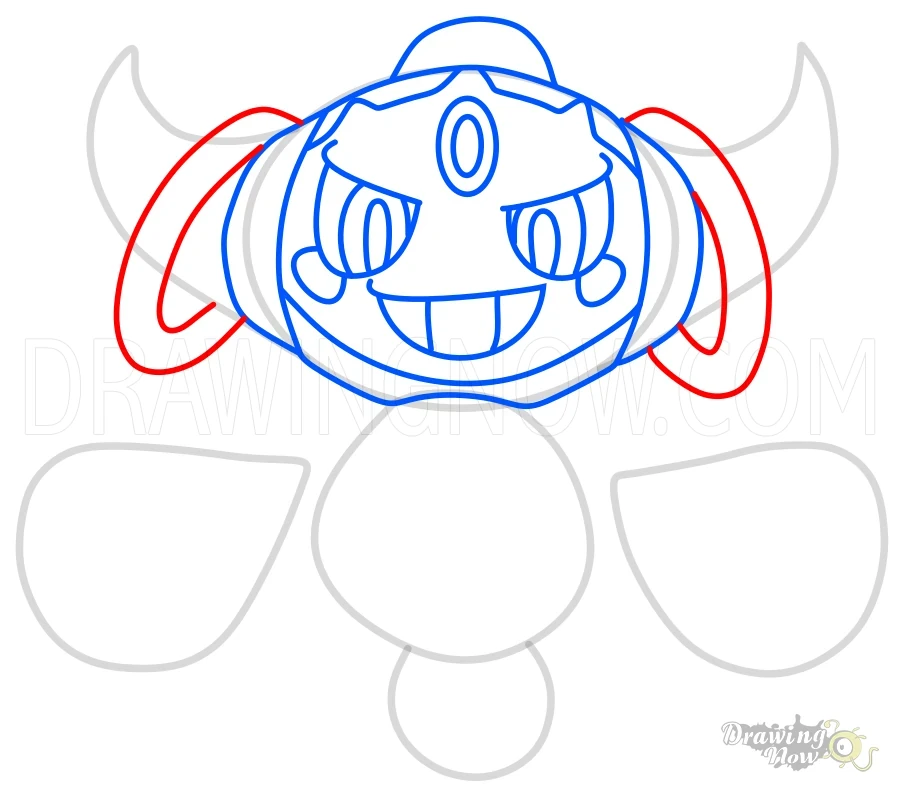
- Rings
Start drawing the rings touching the lines we drew in the previous step.
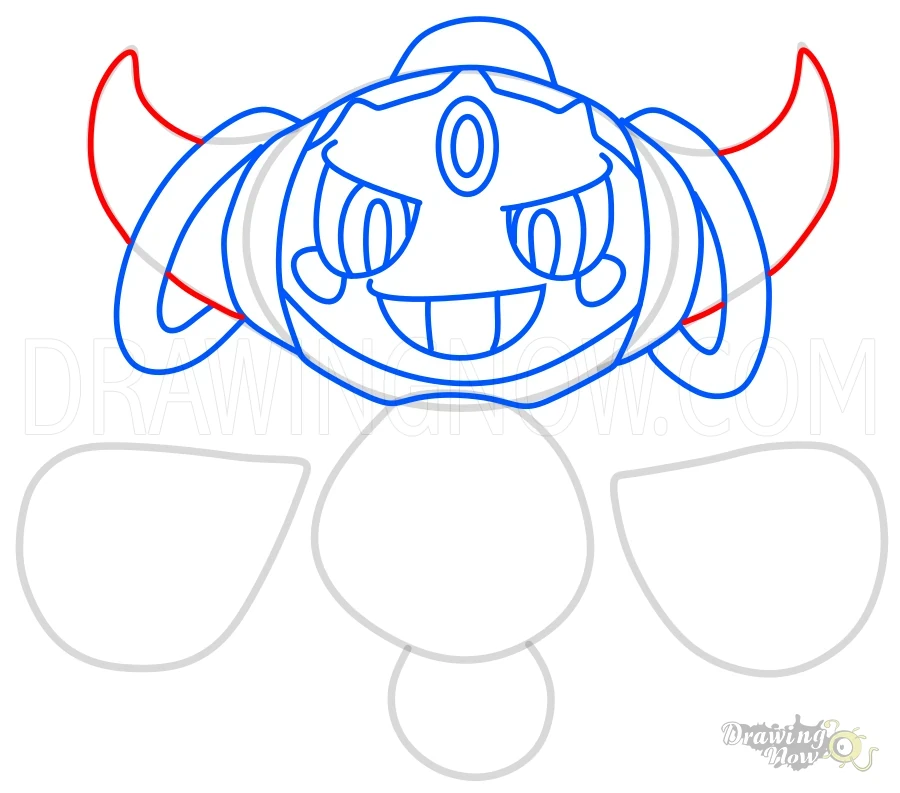
- Horns Outlines
Complete drawing the horns, use the guidelines to assist you.
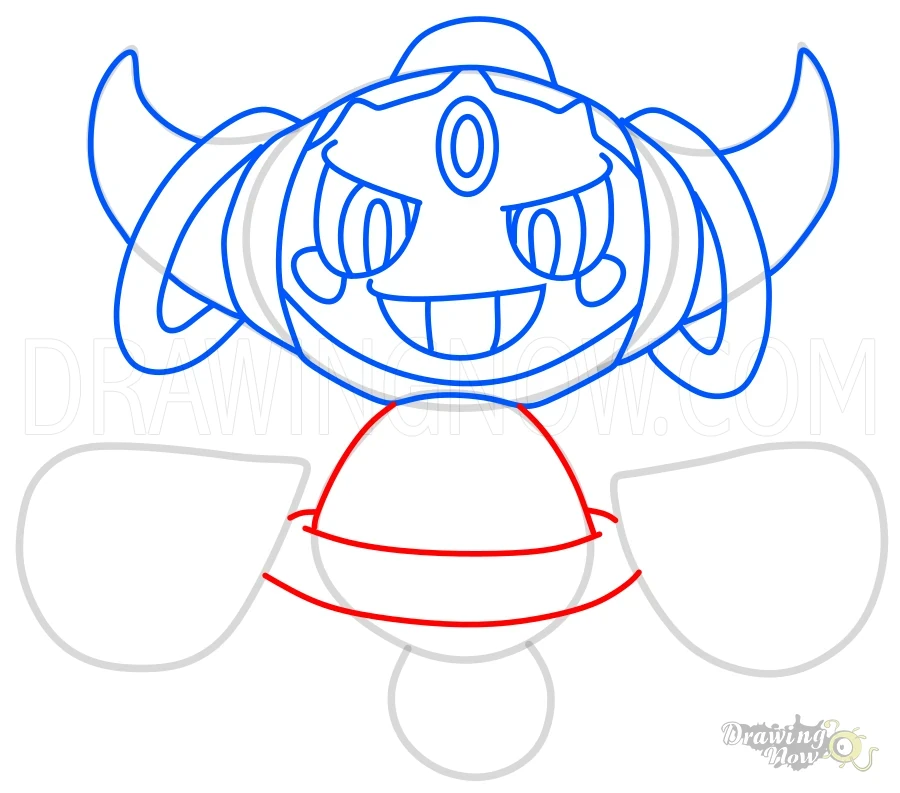
- Body Outlines
Start drawing the body from the middle part, draw a curved line and complete the upper part.
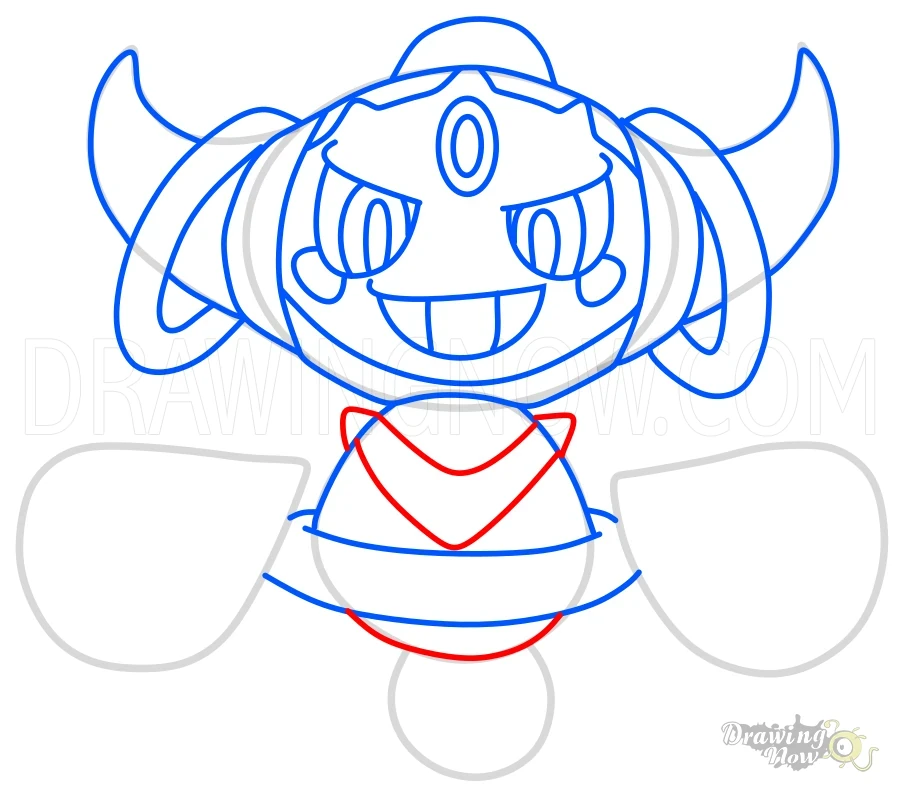
- Chest
Draw a “V” shape on the chest and complete the bottom part of the body.
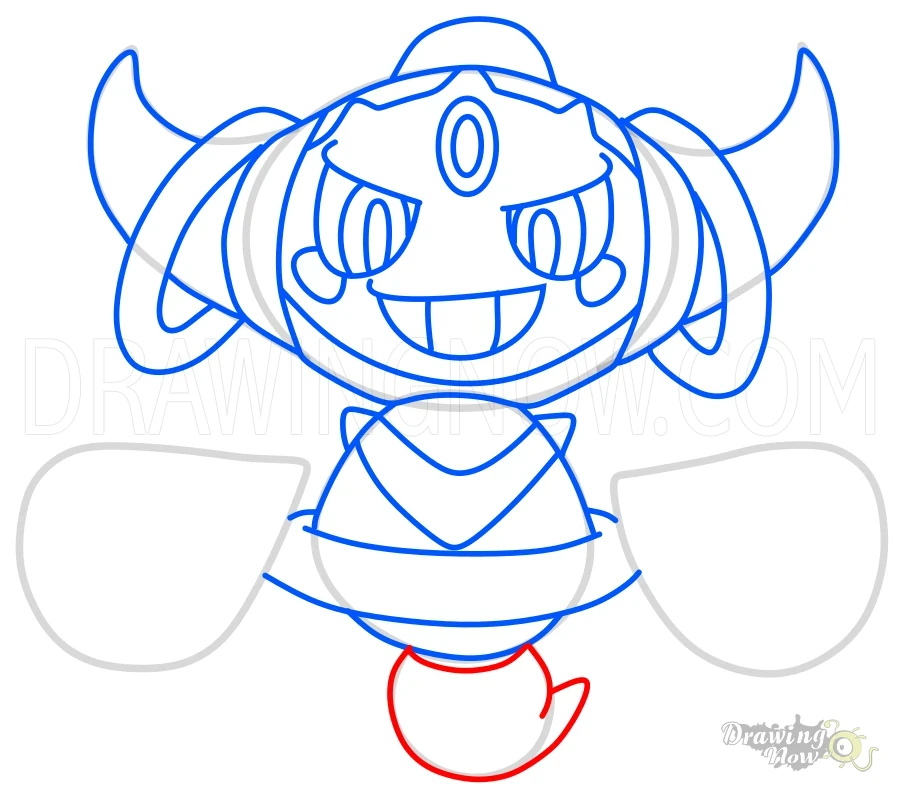
- Tail
Start drawing Hoopa’s tail with a curved line below the body and complete the tail with a pointy end.
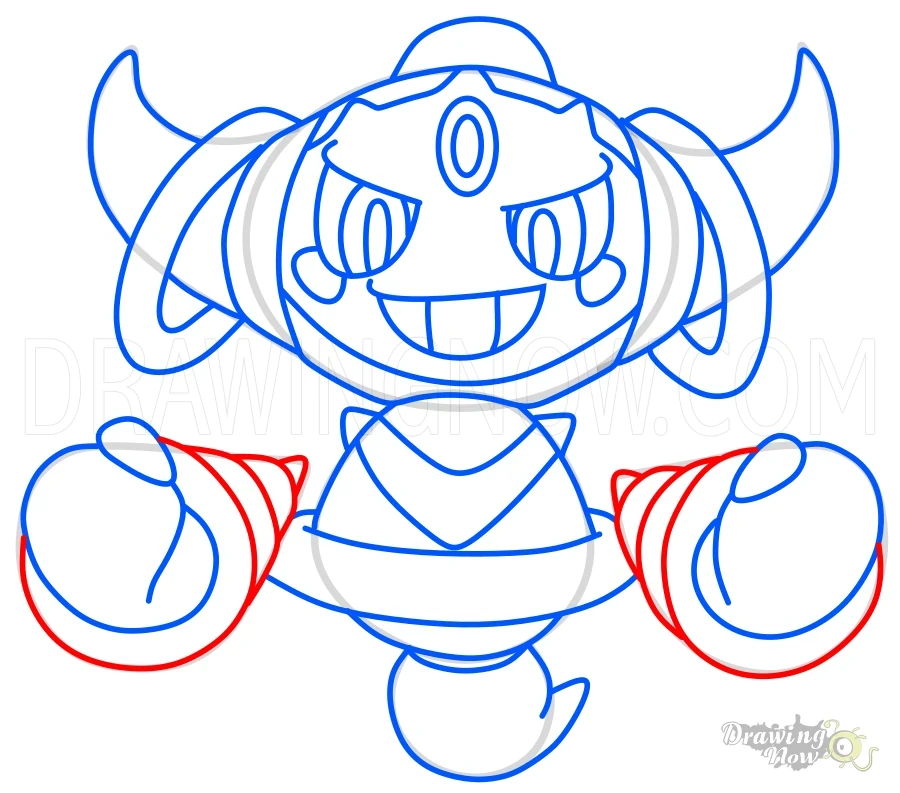
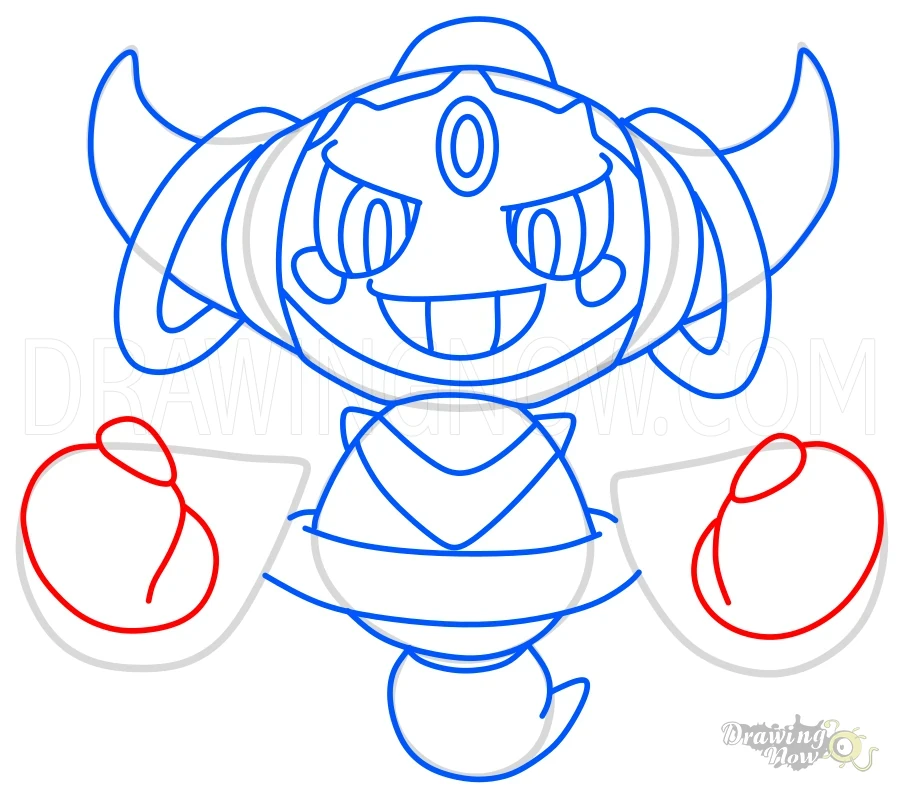
- Hands
Draw the thumb first and after a curved line to complete the hand.
- Arms
Draw the arms, start with the shape closer to the hands and finish with a small triangle at the end. That’s it you can now color your drawing of Hoopa from Pokemon.